A team from the company is dedicated to the technical assistance; this team studies the projects and structures of new projects or to adapt the system to existing projects. They also work to establish all necessary drawings for the manufacturing process and on site mounting of the panels.

The company is continually checking and testing the materials used to manufacture the panels on its own laboratories such as:
- Testing Of The Steel Wire Mesh (Tensile Tests And Weld Shear Tests)
- Testing Of The Polystyrene Characteristics (Density, Compression Strength, Thermal Conductivity)
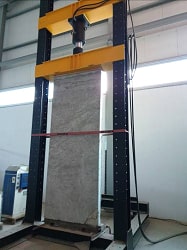
- Carrying tests on walls and roofs in real size
Foundation
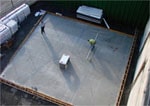
The system needs a linear foundation which could be done by a continuous concrete footing or any kind of foundation according to the geotechnical characteristics of the ground.
Walls plotting
Plotting the position of the inside and outside walls using a measure or other similar tool.
Installation of rebar anchors
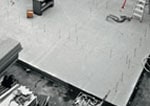
Anchor bars are normally inserted before the pouring of the foundation. Alternatively it is possible to drill holes in the existing slab and then anchor the bars with an approved system.
Installation of the panels
Thanks to their lightweight, a single operator can easily lift and place the panels where required. This is another factor that contributes to the labor savings compared to traditional techniques.
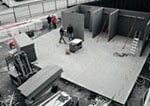
Falseframes
The falseframes are mounted on the openings cut according to the requirements linking the anchor steel to the wire mesh of the panel.
Control and checking
Immediately after the placement of the panels, the perfect linearity and verticality of the walls is checked and ensured.
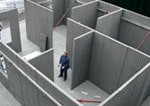
Preparation for electrical and plumbing
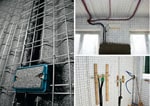
A hot-air gun or torch is used to create channels in the polystyrene for the placement of switch boxes, electrical conduits, cables, pipes, etc.
Installation of the floor panel with the lattice girder
Once the floor panels are placed, supported by the walls and from below, any necessary additional steel reinforcement is installed and the concrete is poured. The lattice girders are suitable for this application as reinforcement steel they will be incorporated in the intended locations on the floor panels.
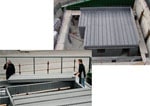
Application of shotcrete
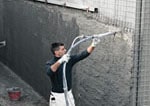
Both sides of the walls of the Single Panel are sprayed with shotcrete and subsequently finished with plaster.
Floor pouring
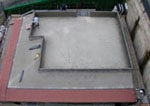
Once the reinforcement steel is place, we proceed with the concrete pouring of the superior part.
Finishing
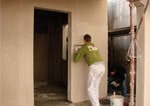
Complete the construction with finishing works ; of painting, woodwork etc.
